“Expressive” may be a misnomer here. In art terms, expressionism is when the artist tries to depict their work through emotion. 🤔 OK, that doesn’t sound right. Let’s try a more reliable source…
Expressionism […] Its typical trait is to present the world solely from a subjective perspective, distorting it radically for emotional effect in order to evoke moods or ideas.
Wikipedia
Which is not what I mean by “expressive”. If I’m distorting anything, it would be the approach in how I start a piece.
Figuring out how to do line art digitally…#
You’ve likely seen how some popular digital artists’ produce clean line work. Especially when they’re creating line art for a comic or illustration. If you looked closer, you would’ve noticed that they go through a quick multistep process.
They tend to start with an initial rough digital sketch. Once they roughly cover the idea, they then add a new or duplicate layer and do some refining. Then add another layer, further refine, and then continue.

My problem was being particular while I sketched out an idea. In fact, I wasn’t always sketching, I was drawing. I’d go over it many times, adding more details with each turn, until the line work was complete. Sometimes, all this was happening on a single layer.
A pattern, some pencil illustrators will recognize as the traditional way of drawing. We start drawing with a light grade pencil, then continue with higher grades as we add details.
Getting good with drawing lines is par for the course with traditional drawing. There are no fallbacks to save you like with digital drawing, like line-smoothing or “undo”. There’s commitment involved with every line you draw.
Some of you might be wondering why is that even an issue. Well…
It’s about speed… Digital line work is not the same as traditional!#
In my case, when it comes to drawing digitally, I would spend time fixing BIG problems with the initial line art. I would’ve seen them coming, if I had a strategy to follow in the initial execution, much like other digital artists. I didn’t, and the obvious would happen; I would get lazy, leave the problems, and finish up.
The irony in all this is that it’s such a trivial thing. All I have to do is change and adapt the way I start.
After all, I’m using software that offers me tools that I can use to help speed up the process. Like line-smoothing, layers, tracing features, and more. But I’m human, and I was doing it subconsciously to boot.
I did realize that it’s a matter of discipline. It was time for me to break this silly habit and create an exercise to help me do exactly that!
(Near) perfect line work be gone!#
With digital art, you don’t need to be so careful or intentional while drawing. There’s no pressure in committing with your lines when you start.
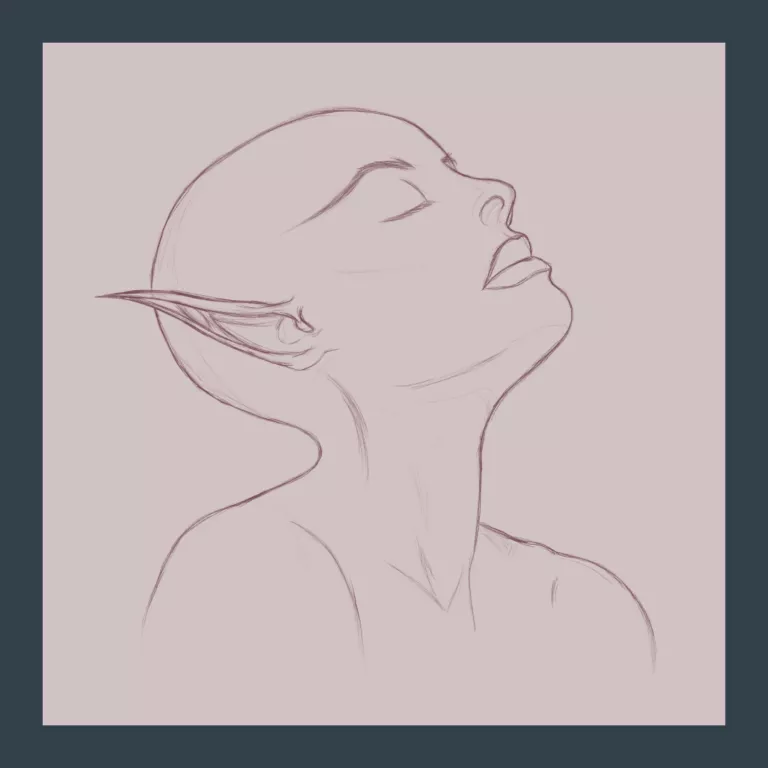
Keeping that in mind, the exercise would need to have a time limit to ensure that I don’t stray. Start with a rough sketch, shade, and add some color. That’s it!
Here’s the exercise:
- 1 hour soft limit – 2 hours MAX for sketching
- Same limits for shading and/or color
- At least 1 layer for the sketch and the other for color
The idea is to be as committed to not draw perfect lines, color, or shade. If I manage to squeeze in clean line art, great! But that’s not the point! It’s meant to be rough and never actually finished.
This exercise was also open-ended because it’s meant to become a regular habit. Also, the subject doesn’t matter, nor the level of detail. It’s whatever I can manage within a few hours.
There was an added bonus to this exercise while starting out. I was trying to familiarize myself with Krita. If you haven’t heard about it before, and you’re a digital artist, I’d suggest you check it out. 😉
Sketching (more like scribbling) away… #
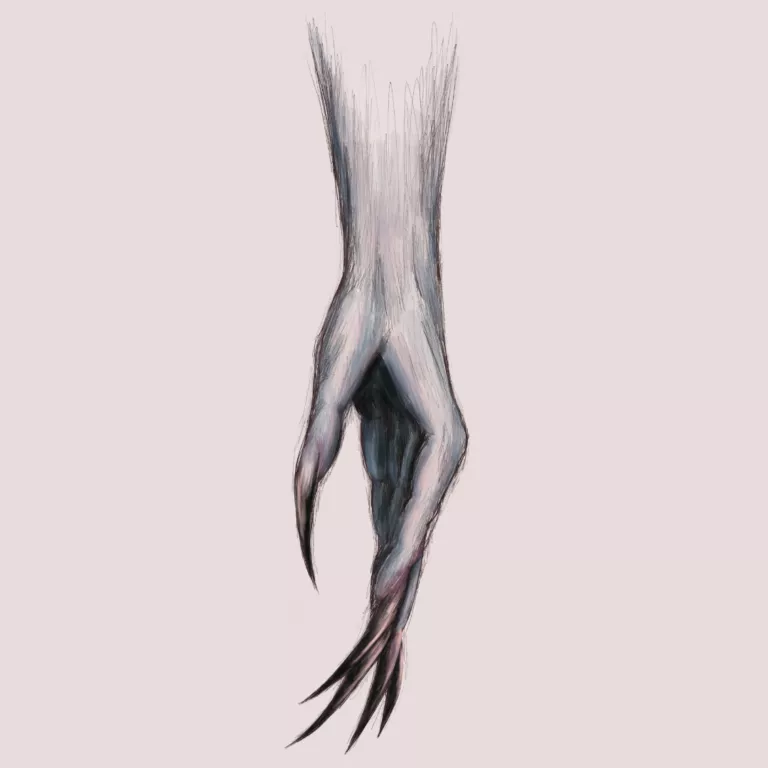
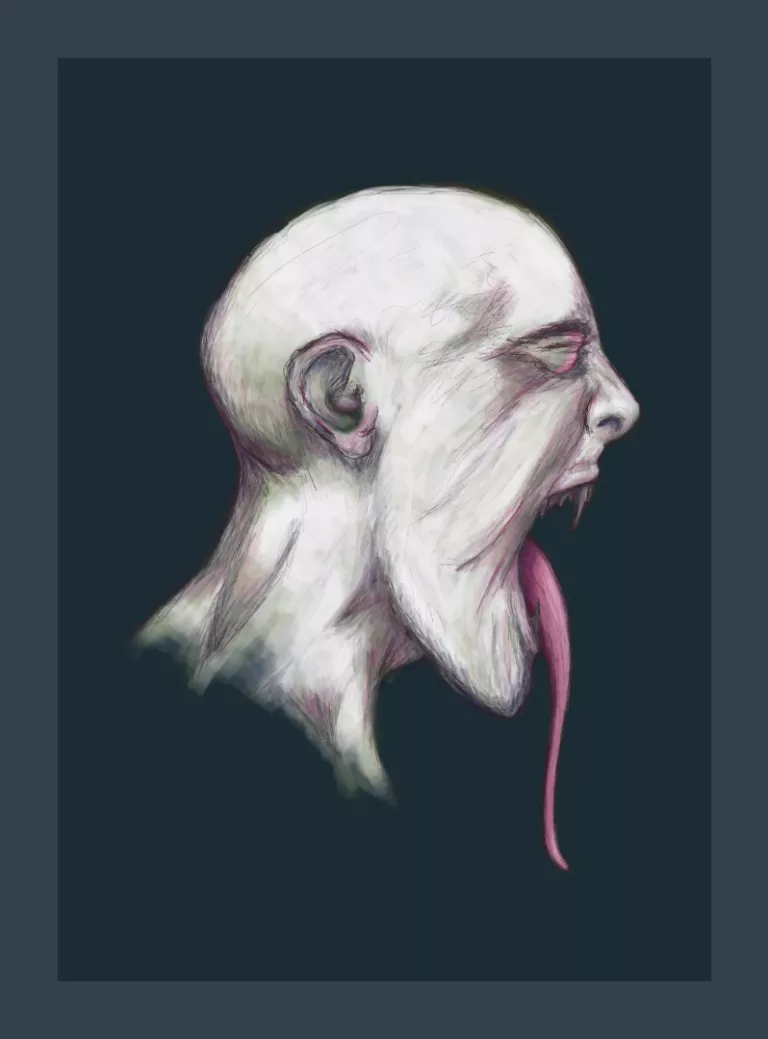
The cover image of this post of the “Evil Hand” was a promising start. I did it within the constraints I set, and it was good enough.
This continued with the rest.
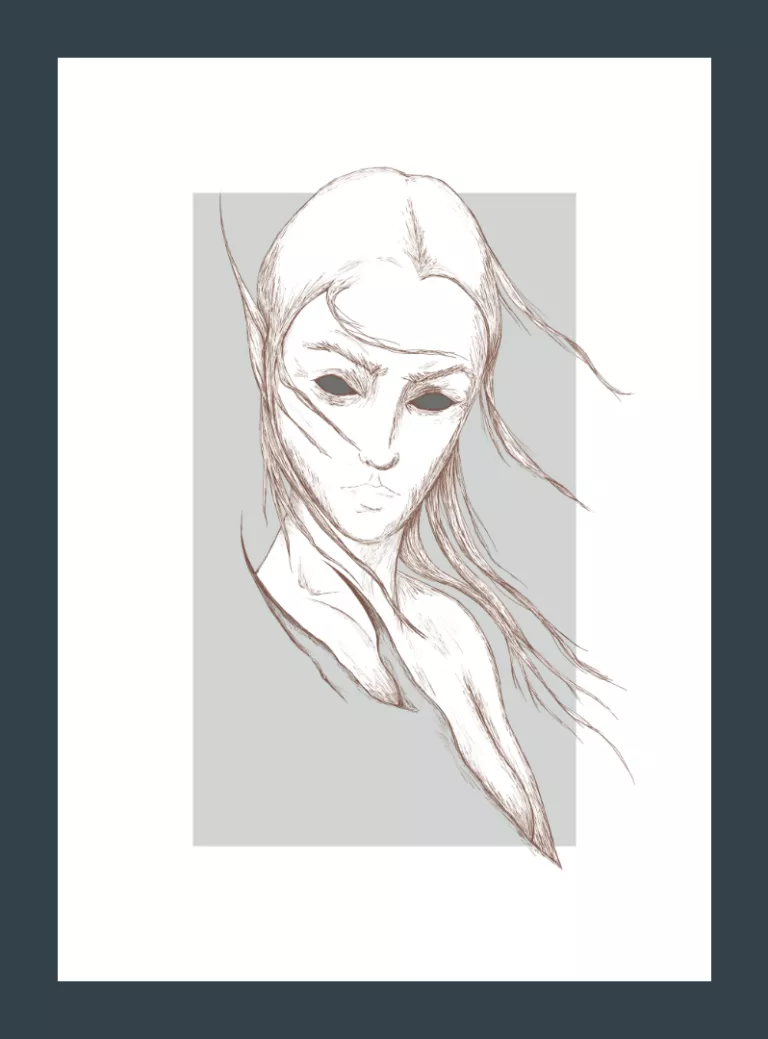
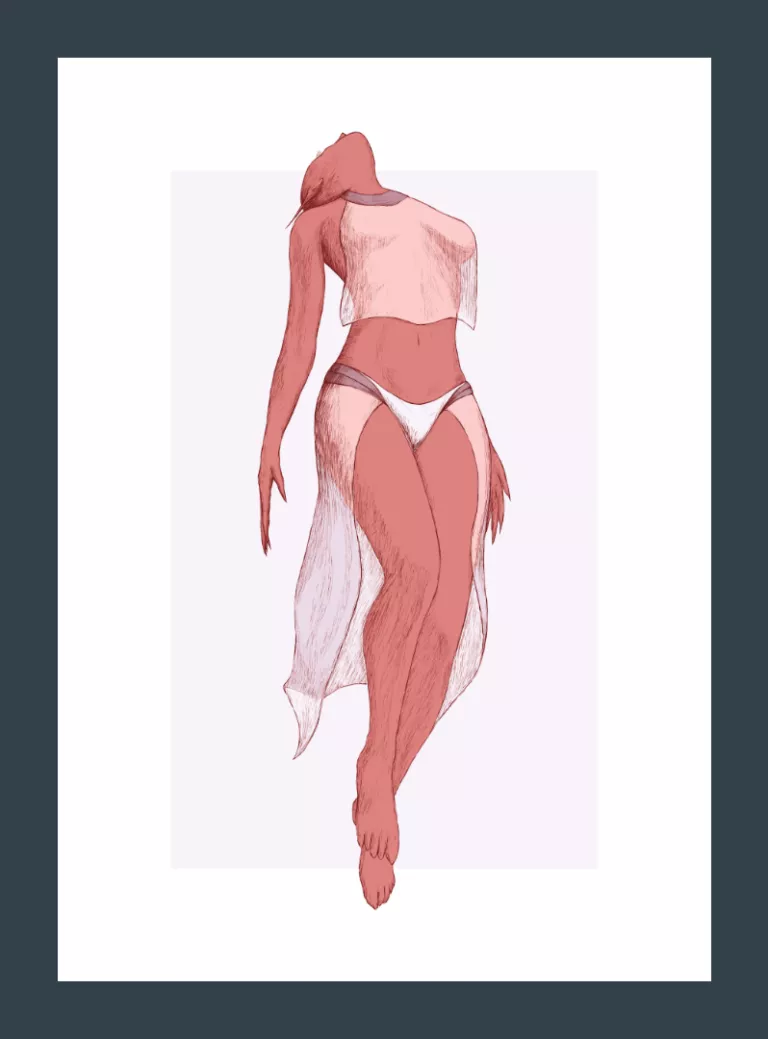
Like I said, they’re meant to be rough. Scope out an idea, and stay within the 2-hour limit, from start to finish.
For some of you who are looking at these and are thinking that you can spit those out in minutes… I agree… You likely can! That’s how bad my habit was, and with these I did use “CTRL+Z” a lot!
This whole line work exercise helped me to make good use of time and notice problems. I have to admit, by placing these constraints, I was able to spot my weaknesses.
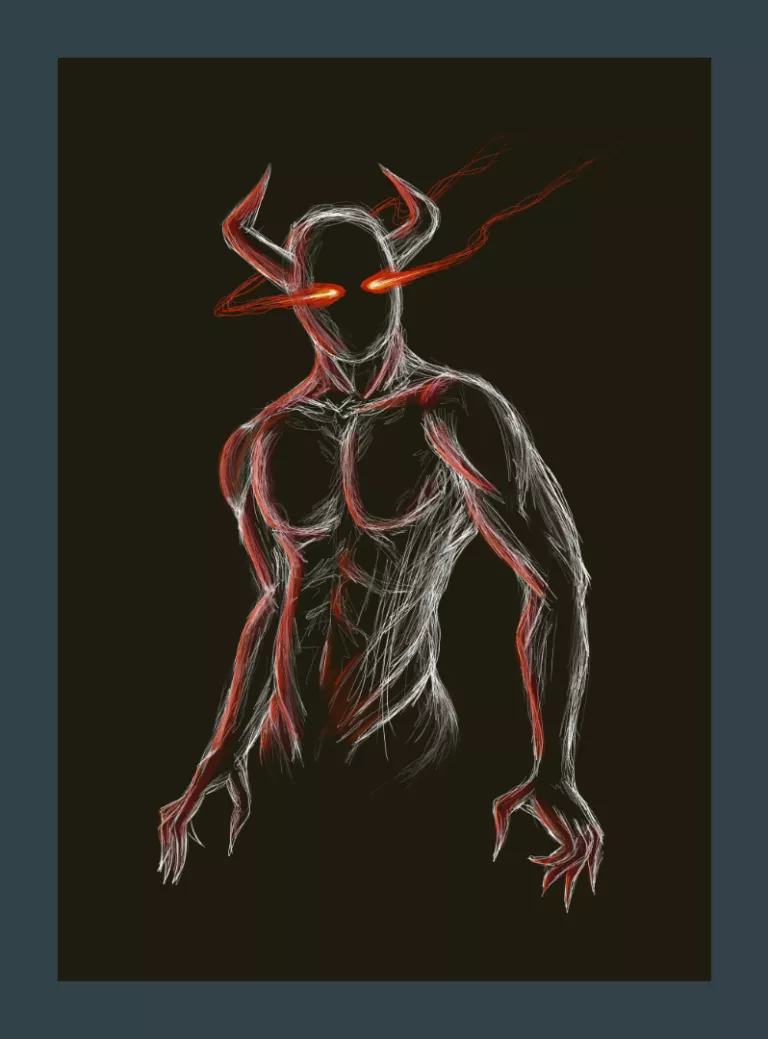
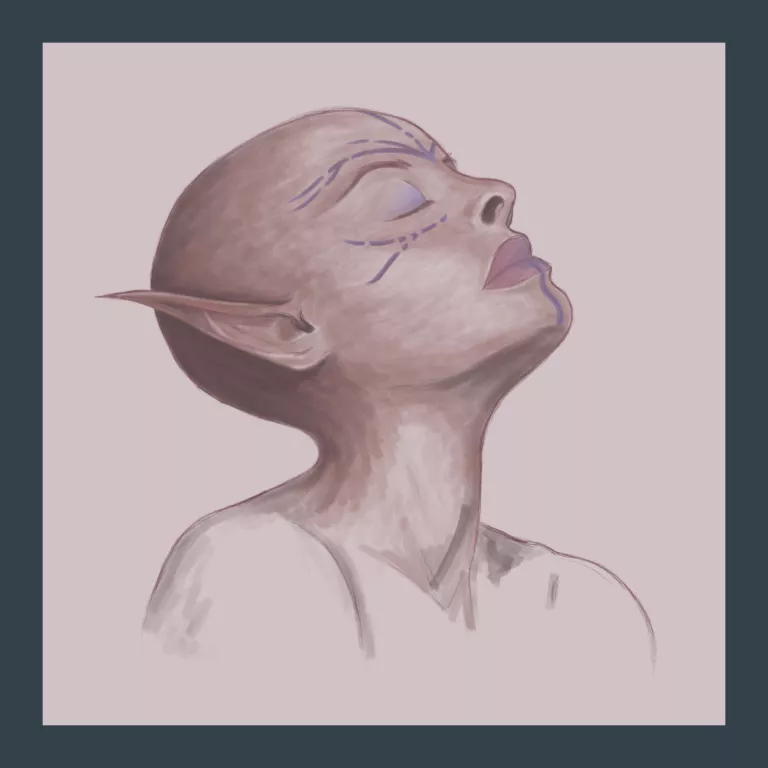
I was getting comfortable with the approach with every piece. The scribbling was also becoming a bit more constrained.
The more I got comfortable with the pace and approach, the more I pushed and experimented. I did use it as a style of sorts. Flaws and all. Why not? 🤷♂️
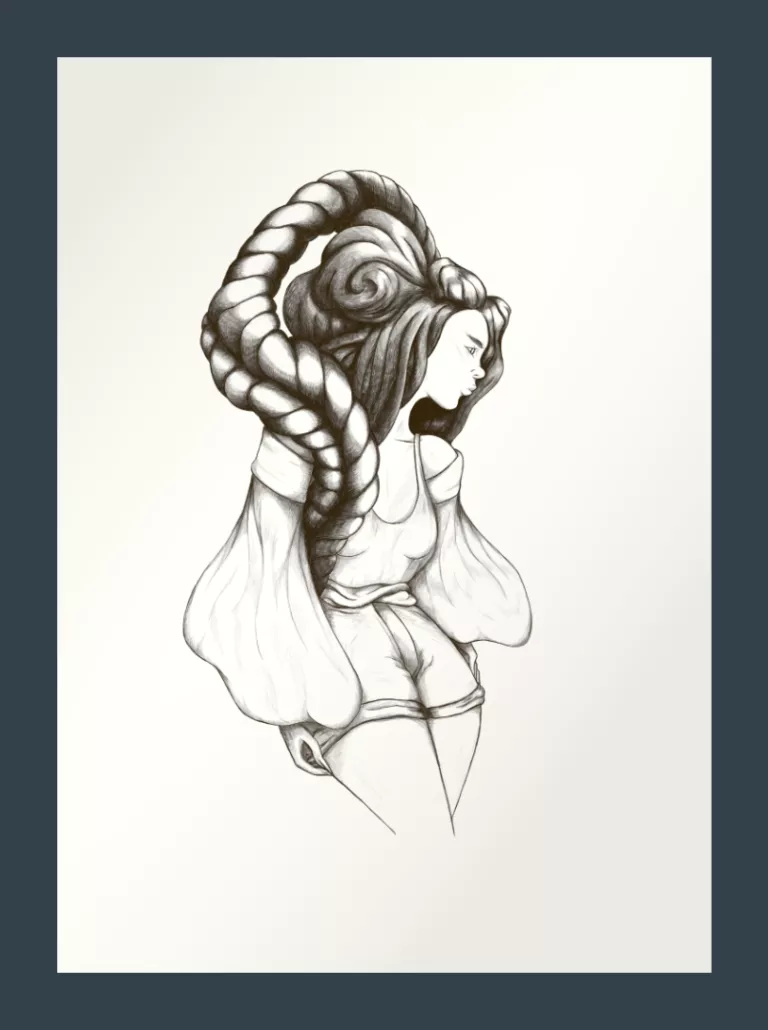
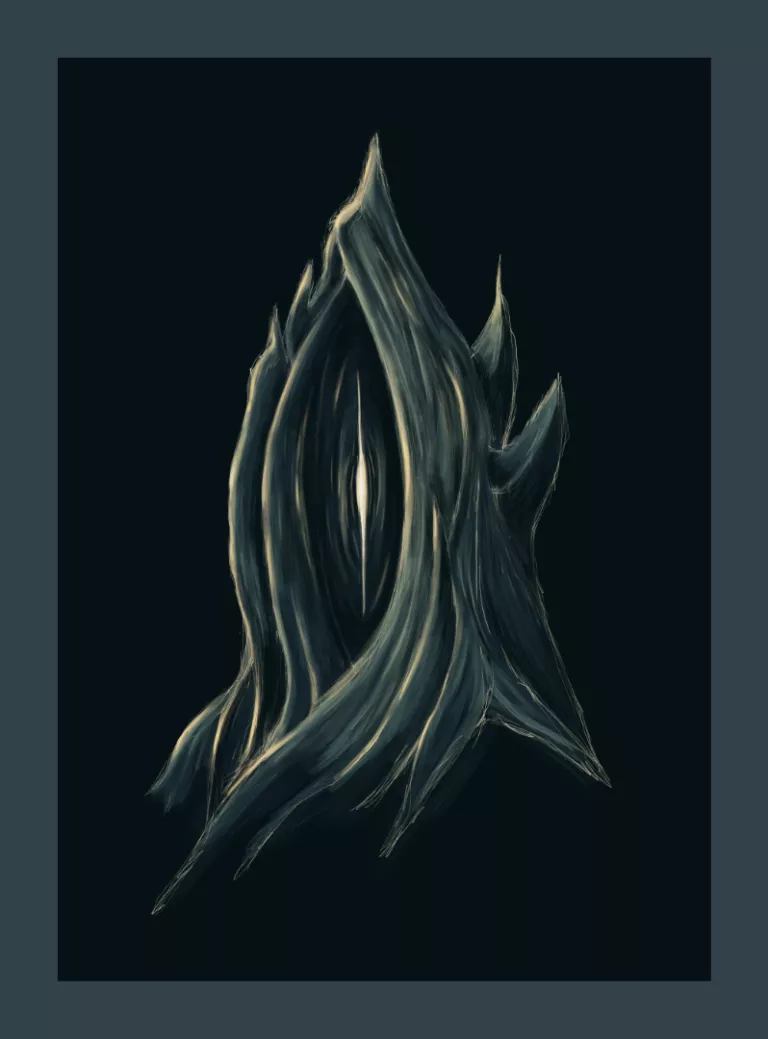
I did the same for a couple of more detailed pieces. In these two cases, as you’ll see below, I went beyond a few hours of work. Nonetheless, they took less time compared to the way I used to work. Like I said, flaws included, but they turned out alright.
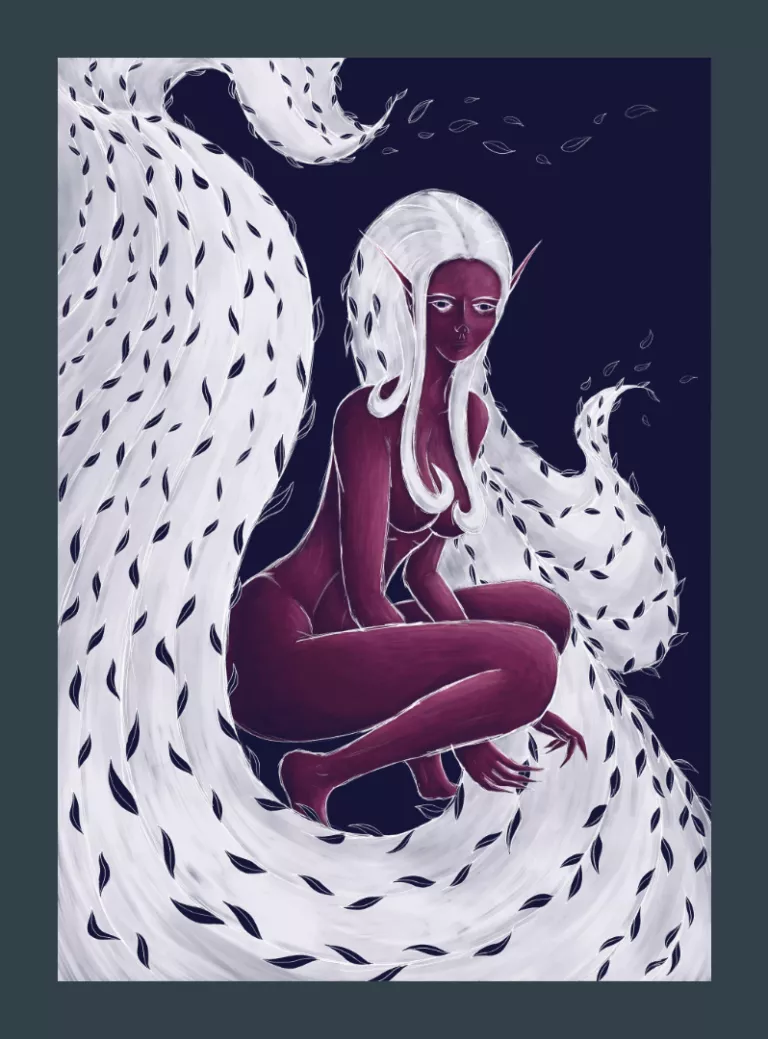

Rough line art vs clean…#
The fact that the process potential was there, I wondered if it could be more than a step… but a style?
Well, you tell me!
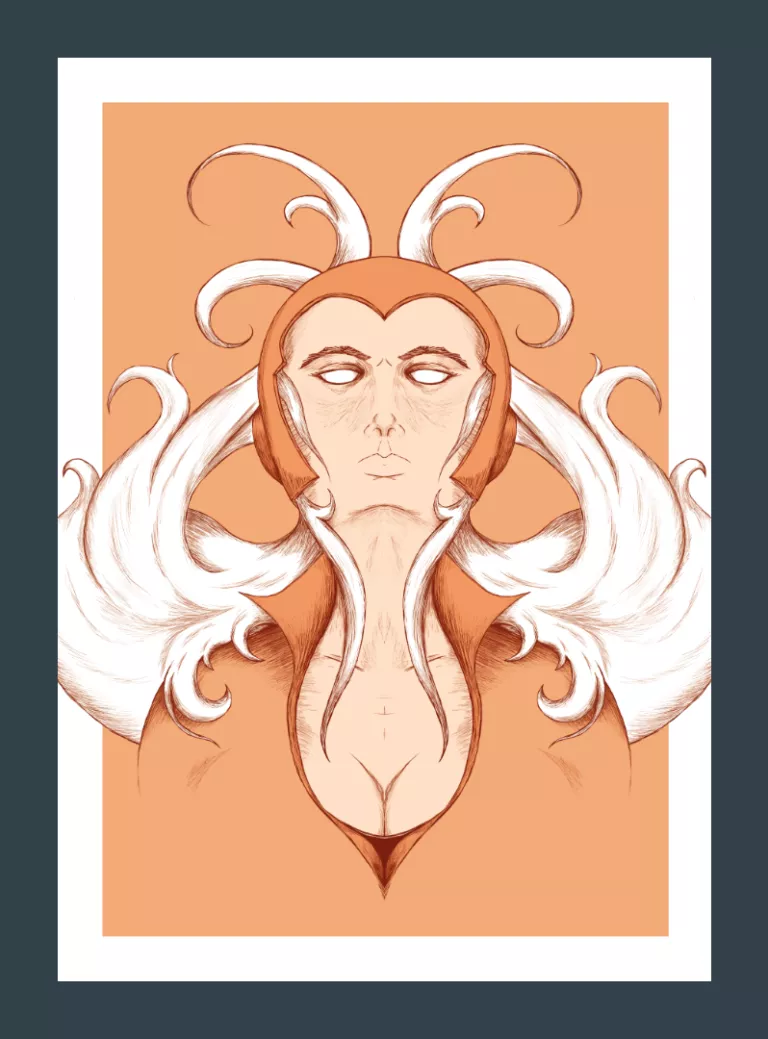
Isn’t digital art fun? 🤗
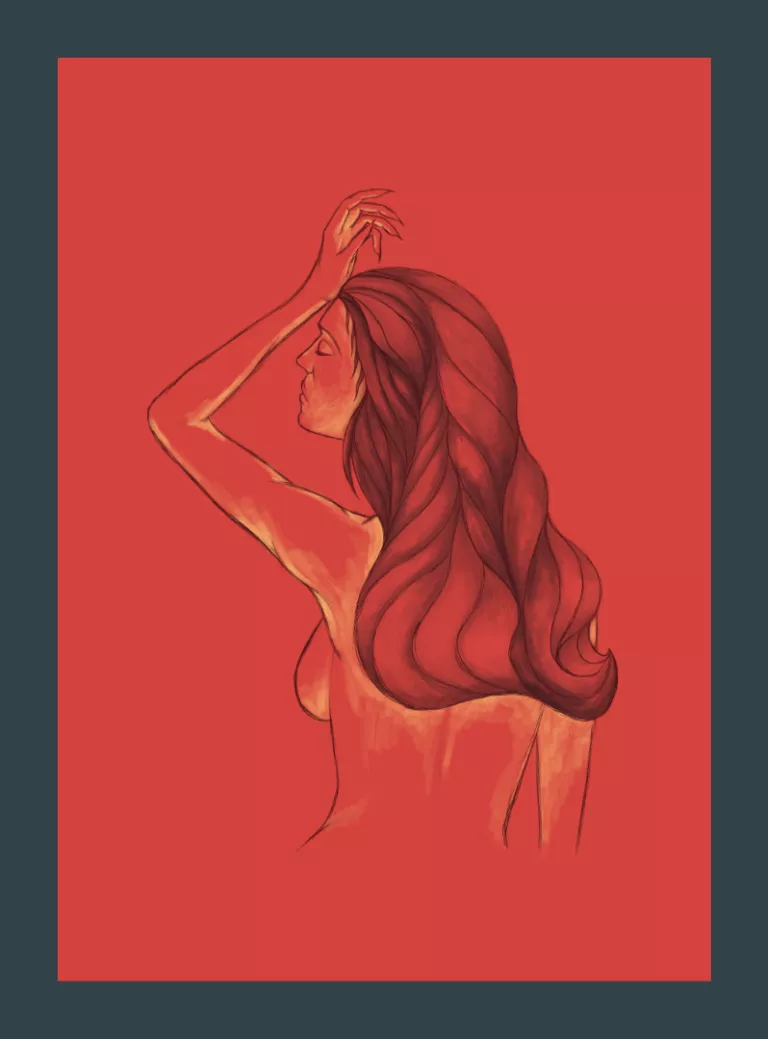
I admit that these went beyond a rough sketch. I cleared them up a bit but did keep the rough outlines and details while keeping separate layers for each!
The way I stumbled on this was through hatching away as a way of cleaning the scribbled lines up. Let’s say, I’d roughly hatch in a shadow, and to lighten it up, I would use an eraser to hatch it off. Better than using “CTRL+Z” all the time. 😄
It’s so simple to plan things out this way, without worrying about the line art part of the process so much. Each piece took a couple of hours of work. (Granted, I didn’t do heavy coloring, but still).
Because of how well this worked out, it has become as a step and style of sorts that I will continue to explore.
😎